Sunday, January 20, 2013
We've moved!
Hello everyone, thanks so much for supporting me here on onethingonedayeveryday.blogspot.com.
This ship is moving over to www.heypretty.co! Join me for decorating tips, easy DIY and lots and lots of parties. Cheers!
Wednesday, December 12, 2012
Twelve Weeks of Homemade Gifts: Week Eleven - 4 Step Dog Scarf
Hey everyone!
Sorry for the delay in posts, but the Reese family grew one furry little member this week.
Meet Duke!


[Step Two] Time to cut the fringe. Fold your piece in half, and cut even strips. If you left 4" hanging room like I did, make your cuts about 2" - 3"


[Step Four] Pull one end of the scarf through the little hole you just cut:

[Unofficial Step Five] Put that scarf on your pup!
Only one more week left of homemade gifts! Next week's is going to be AWESOME!
Ok, back to the puppy.
Sorry for the delay in posts, but the Reese family grew one furry little member this week.
Meet Duke!
Duke is all ours! We are having a lot of fun together. He's about 87% potty trained, he looks like a muppet, and acts like a cartoon character. We are so in love!
Naturally, I needed to make him a cute little dog scarf [Baby, It's Cold Outside!] I saw one of these in a fancy pet store in D-Town Portland a couple weeks ago, and gave it a go.
So here we go! A four-step super easy fleece [easily washable] scarf for your pup!

What you will need:
1/3 Yard of Fleece
Scissors
That's it.
[Step One] Cut your fleece. I used a scrap piece of fleece I had left over from a headband. Duke has a tiny little head and neck, so I measured the circumferance (distance around) his neck plus at least four inches to hang off each side. So for this little guy, it was 12 inches plus 8 inches for 20 inches long.
For smaller dogs, use about 6 inches for the width. Adjust for the size of your dog.
So I cut my fleece 6" x 20".
[Step Two] Time to cut the fringe. Fold your piece in half, and cut even strips. If you left 4" hanging room like I did, make your cuts about 2" - 3"
[Step Three] Cut a little slit about 1/3 of the way up the end of the scarf. Think of it this way: your scarf has three parts. Two parts hanging/fringe and One part around the neck. So your cut needs to be at the end of the first third:
[Step Four] Pull one end of the scarf through the little hole you just cut:
[Unofficial Step Five] Put that scarf on your pup!
 |
| So. Dapper. |
Ok, back to the puppy.
Thursday, December 6, 2012
Twelve Weeks of Homemade Gifts: Week Ten - FINALLY. The Tree Skirt
If you're friends with me on Facebook, you may have seen that I had to postpone this project by a day because I found out I have a new severe allergy.
Burlap.

I started out making a cute ruffled tree skirt. I ended up with hives.
How? Why? I don't know. But what I do know, is that I need to start documenting all my traumatic injuries caused by crafting. This happens a bit too often...I'm typically just too embarrassed to tell you about it.
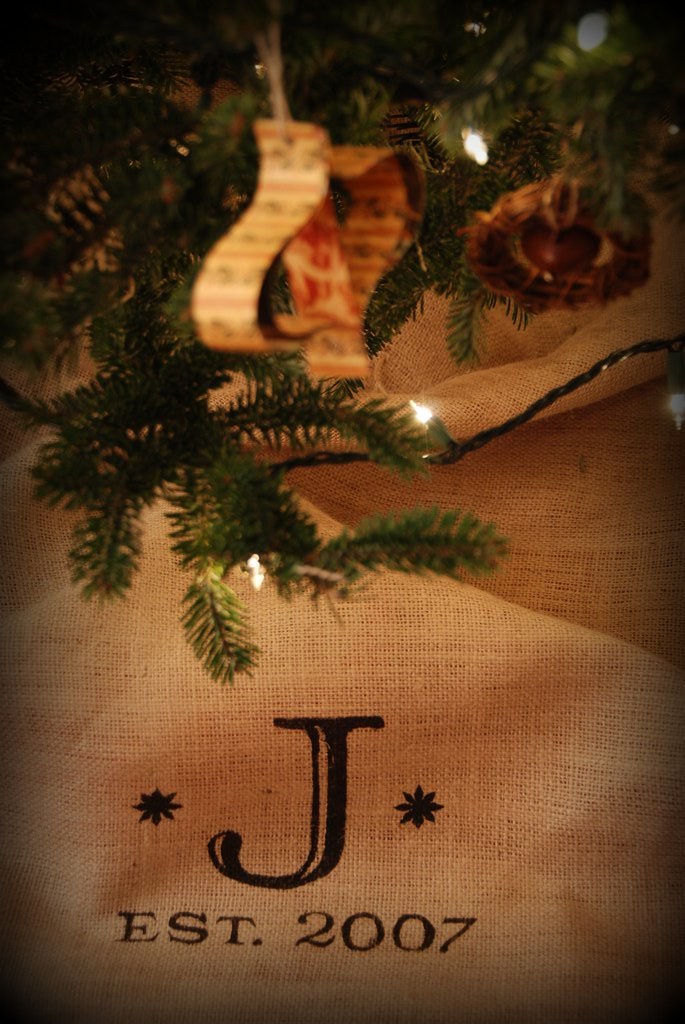
So here we go, my beautiful tree skirt! No sewing skills required. Just a lot of time. And a lot of hot glue.
For this you will need:
-A whole lot of fabric. [I used at least 1 extra wide yard to make the base, then probably another 2 to make the ruffles. ]
 |
| I wanted my tree skirt to have three colors, ivory, gray, and deadly light green burlap. |
-Scissors
-Time
Let me tell you, this is not a quick project. I probably spent about 6 hours total time on this baby [granted, I was watching Real Housewives of Atlanta/Beverly Hills for a large portion of that time...so let's say 3 hours to be safe]
I started by using an old tree skirt as a template for my base. You could also use the old tree skirt as the base. Or, just cut a circle with a 5 ft. diameter. Your choice.


Then, I made sure to cut out the little middle part.


Then, I cut a straight line to the middle so it can wrap around the tree:

Now, cut a TON of strips for your ruffles. I made all of mine 3" wide. Change your measurement based on what you want your look to be. I wanted mine to be SUPER RUFFFFLLLLEEEYY so I made mine 3".

Also, depending on what look you want, you could use either of these methods to make the ruffles. If you want very dramatic ruffles, use this first method:
Hot glue your first strip to the edge of your cut-line down the middle of the skirt:


Accordion fold the fabric over:

 |
| Very dramatic. |
 |
| Oh, wait...how did this get in here? |
Now second method is for more flow-y ruffles [this is what I chose to do for the whole thing.] Put a line of hot glue on the base [I did about 2 inches at a time.] Place the fabric lightly on top of the hot glue and pinch together every 1/2 inch or so:

This is what a bunch of those ruffles look like:
 |
| Soooo flowwwyyy. |


Now do this....forever. It turns out to be very zen after a while. Go crazy with a pattern, or do it all in the same fabric.

I went with a semi-pattern for the bottom, and one color up top:
 | |
| No, my edges didn't match up. That's the nice thing about this, it doesn't have to be perfect. |

Now, time for the ties. Cut strips of fabric that are 1/2 the width of your ruffles [mine was 1 1/2" width] and 12 inches long.
Hot glue each strip to the backside of the skirt, making sure that the ties line up across the cut.

I used two ties, but you could use more if that is the look you are going for.

Tie them pretty and put it around that giant plant! Alright!

Unfortunately, it's too dark in my house to get a good picture of the tree skirt under the tree. I'll try to snap one tomorrow when it is light outside.
Have fun!
Tuesday, December 4, 2012
Skirting It

His name is Cash. He's a Cocker Spaniel. Ben and I are thinking about adopting him. The poor little thing is only 6 months old and has been through two homes that weren't willing to put the time in to train the little bugger. He's the sweetest, calmest puppy in the world. He's coming to stay with us next weekend. I'll keep you posted on whether or not we are a good fit for him. But for right now, I am totally in love.
OK, on to the tree skirts.
I'm elbow deep in making a little ruffled number myself, but I wasn't able to finish it tonight [hopefully a big tutorial tomorrow?] So instead, I thought I'd do a quick roundup of great DIY tree skirts!
 |
| beautiful felt flowered skirt [no sewing machine required!] Tutorial here. |
 |
| Great scalloped skirt for those of us good with a pair of scissors. Tutorial here |
 |
| If you're not in the mood to make anything, Sherri from Young House Love just used one of those sheepskin rugs from Ikea here |
 |
| You can go super simple, cut out a piece of fabric and add some paint. here |
 |
| Or, you could chop off the bottom part of a large basket and make it look like a beautiful potted plant! here |
Just a tip, for your base of any of these, buy a big painter's drop cloth and cut off the corners. You have a perfect heavy base to attach felt, start painting or anything.
I'm making an epic ruffled number...hopefully I'll finish tonight, but I'll likely just be thinking about baby puppy Cash....
Monday, December 3, 2012
My little wonky obese snowflake.
Yay! I get to announce who won....


Lucky number 2! Since I was also keeping track of folks via Facebook, the second person to enter was Danielle from Muddy Boots (and Dirty Dishes)!! Danielle: you get to choose either me designing your Christmas Cards or I'll give you any one (1) of the Homemade Gifts I've made thus far! Danielle also got 2 entries because she is a loyal 'follower' of ye olde blog!
Thanks to everyone who entered, I'm going to do this again soon (maybe Thursday?) because I have lots of gifts to give away. Also, big thanks to everyone that started 'following' my blog (you double your chances of winning!)
In other news, Ben and I got a Christmas Tree this weekend. To say it rained would be an understatement.
In our water-logged brains, we picked out the wonkiest-cartoon-character of a tree, and it's PERFECT.
Here's the tree before it fell down the first time:

I refer to him as our little obese snowflake. Best part of this tree? You couldn't possibly put this baby in a corner. it belongs smack dab in the middle of the room.
It also comes within centimeters of the ceiling:
Since we're brand new adults, we don't have very many ornaments. We have a giant pack from Ikea that covers about 1/2 of the ornamental surface of the tree. So we mainly filled this puppy with lights and ribbon:
My favorite part of the tree are my sparkly poinsettia lights I found on special after Christmas a couple years ago:


Now all I have to do is finish my advent calendar [oops...], make an awesome tree skirt [stay tuned] and deck the rest of our halls for the season.
And the winner is.....
Thanks to everyone who entered, I'm going to do this again soon (maybe Thursday?) because I have lots of gifts to give away. Also, big thanks to everyone that started 'following' my blog (you double your chances of winning!)
In other news, Ben and I got a Christmas Tree this weekend. To say it rained would be an understatement.
In our water-logged brains, we picked out the wonkiest-cartoon-character of a tree, and it's PERFECT.
Here's the tree before it fell down the first time:

I refer to him as our little obese snowflake. Best part of this tree? You couldn't possibly put this baby in a corner. it belongs smack dab in the middle of the room.
It also comes within centimeters of the ceiling:
 |
| What can I say? I'm a good eyeballer. |
 |
| This manly man had to cut down our little fatty in the pouring rain. |
My favorite part of the tree are my sparkly poinsettia lights I found on special after Christmas a couple years ago:

I love that our tree can't look perfect. I love that it has wonky branches sticking out at every end. I love that it fell down this morning at 6:45 when I was trying to get ready for work [ok. no. did not love that.]

Now all I have to do is finish my advent calendar [oops...], make an awesome tree skirt [stay tuned] and deck the rest of our halls for the season.
Friday, November 30, 2012
Twelve Weeks of Homemade Gifts: Week Nine - Hour Apron Tutorial
Sorry about the delay for this tutorial. My little buddy Emily:

came in town and we were having too much fun to play on the computer.
Since I flaked out again, I decided to make the giveaway even bigger. Enter here by telling me your favorite movie, and I will let you choose your prize. You can win either design services for your Christmas Card, or ANY gift I made for the 12 Weeks of Homemade Gifts. Any of them. I'll ship them anywhere in the U.S. So get to entering, you have until Monday!
But, as promised here's a tutorial for this:
 |
| An apron! This is a high-waisted skirt apron. Trying to take a semi-attractive selfy wearing the apron proved really difficult. |
This all started with a little pin and a great tutorial here. The tutorial promises an apron in an hour, it took me 78 minutes on my first try, and 46 minutes on my second try. So, average of 62 minutes--golden. This project is also perfect for those of us that started our sewing career a month ago. Nothing but straight seams, aprons are easy to fit almost everyone, and the hardest part is ironing. Seriously.
What you'll need:
1 'Fat Quarter' (18x22") piece of fabric [this is for the body of the skirt]
1/2 Yard of fabric for the bottom and ties
Thread to match
Iron, sewing machine, scissors, [the usual suspects]

[Step One] Iron your fabric really well. Really really well.

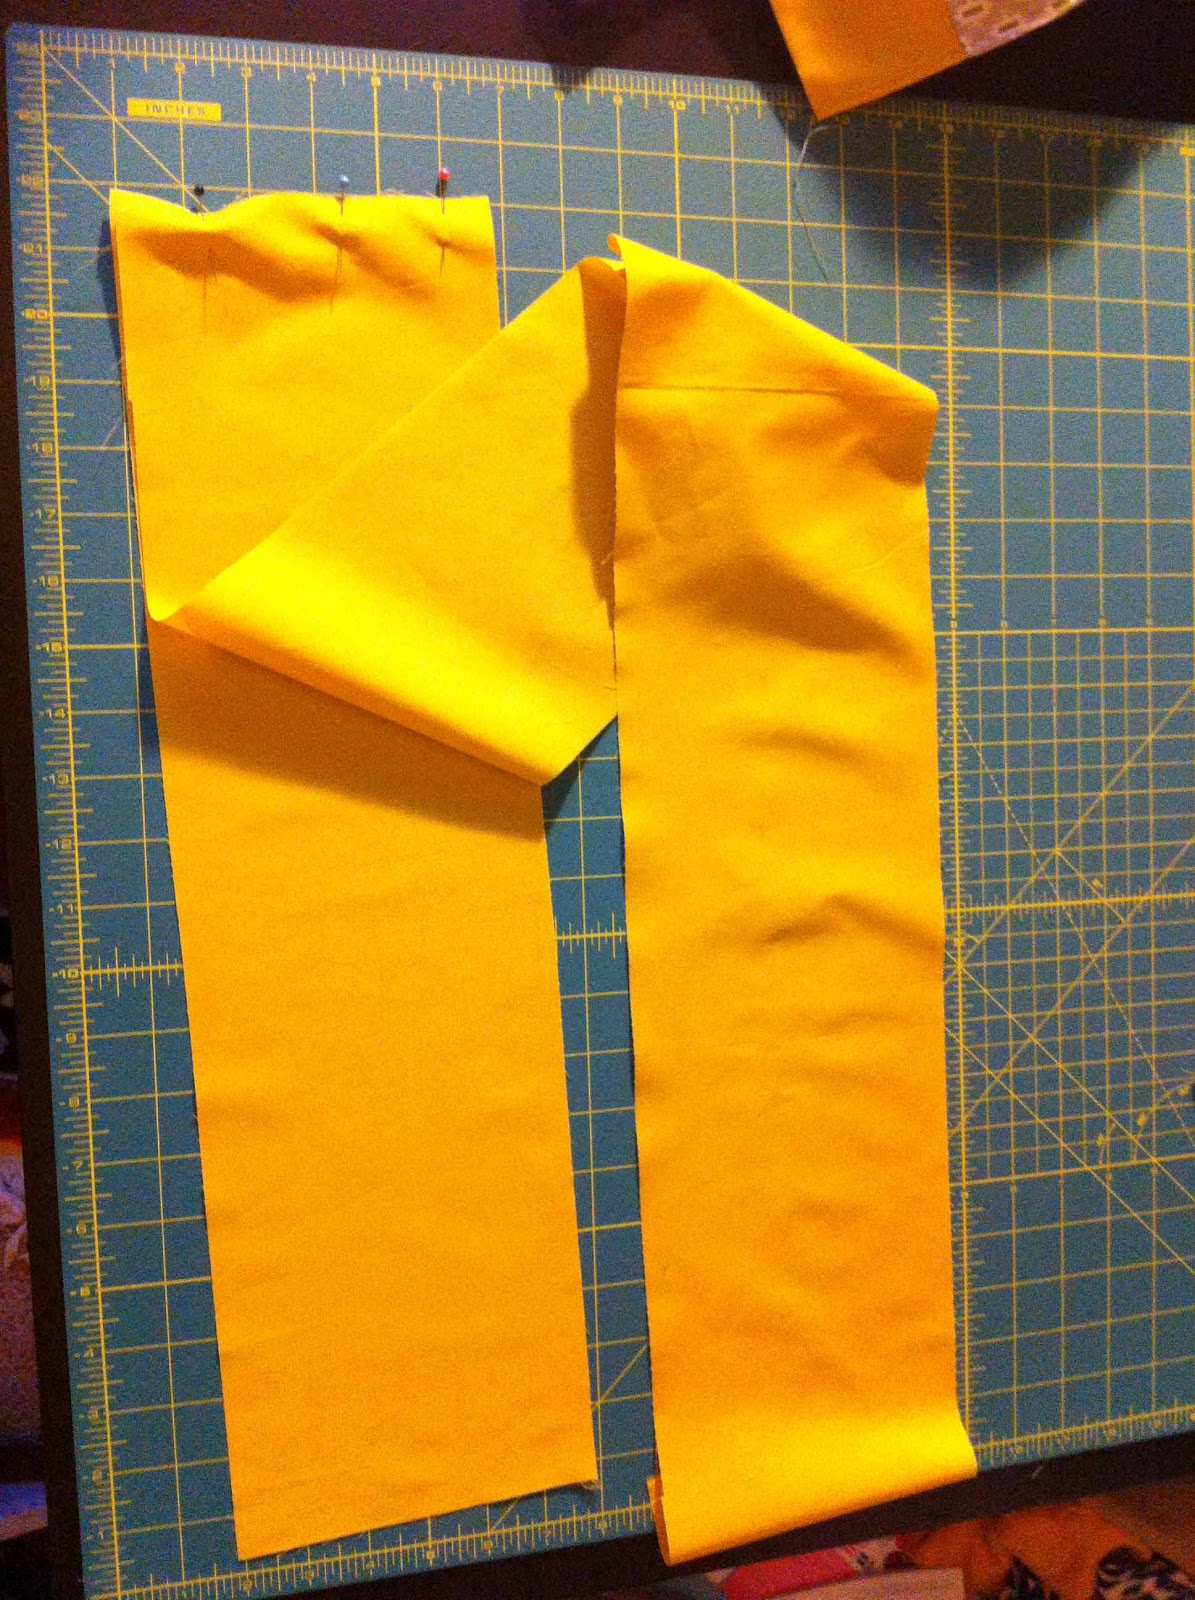
[Step Two] Cut your 1/2 yard of fabric [yellow in my case] into three equal strips, 6" each.

[Step Three] Line up your Fat Quarter with one of the strips. Cut the strip so it is the same length as your Fat Quarter [use the 22" side to measure]

[Step Four] Fold your shorter strip in half [hot dog] and iron it.

[Step Five] Take a deep breath. Step up to your sewing machine. Sew the 'right sides' together at the bottom of your Fat Quarter:


[Step Six] Iron your seam down flat [real crisp.]

[Step Seven] Deep breath, sewing machine again. Sew a straight line on the top of the seam...like this:

[Step Eight] Time to hem! Fold the long side of your apron over 1/4 inch, then iron. Now fold that over again, and iron. Now go to your sewing machine and sew that sucker down. Ends up looking like this:

[Step Nine] Do the same thing on the other side.
[Step Ten] Time to make the ties! Take one long strip and one short strip. Sew right sides together.

[Step Eleven] Sew your remaining long strip onto the open end of the shorter strip [right sides together again.
 |
| I ironed these seams flat, too. I don't know if it made any difference in the end, but it made me feel better. |
[Step Twelve] Sew the short strip onto the top of your Fat Quarter:

[Step Thirteen] Now, we're going to finish the long ties. Fold the long strips in half [hotdog.] Leaving the middle open, sew right sides together. Stop about 2 inches from the end of the strip, angle your piece so that you are aiming for the corner to make a point. Repeat on the other end. Just make sure to leave the middles open.

 |
| Turn while the needle is down, then you won't lose your place |

[Step Fourteen] Trim the pointy ends.
 |
| It was getting dark...sorry for the blur. |
[Step Fifteen] Turn those suckers inside out and iron really well.

[Step Sixteen] Fold the middle apron piece over and sew using a pretty zig zag stitch.
 |
| I ironed this down before I started sewing. Again, made me feel better. |
 |
| Make sure to iron your seams after, too. Makes it pretty. |
Congrats!

Subscribe to:
Posts (Atom)